
Timothé Chauvet
Monday, April 24, 2023 | 17minutes
Host your blog for 0€ 💸
LinkedIn, Meta and Twitter want them down! To create content in the 20’s era (from 2020 on), there is a plethora of platforms. Some are newborns (Mastodon, Notion), some are ephemeral (Google +, Skyblog), some are somewhat disliked (Facebook, Twitter), these have a life sometimes shorter than your washing machine. But there is one platform that does not suffer from programmed obsolescence: blogs.
In the first post of my super blog, I wanted to tell you how I made… my blog. Hosted on GitHub , made with Hugo and maintained by me, it (almost) costs me 0€ to keep. I hope that by reading this tutorial, you will be able to realize how easy it is to make your own https://timothechau.vet for nothing.
The problem with WordPress for blogging 😓
I’m sure I’m not the only one who thinks that building a personal website with WordPress is a waste of time. Even though 43.1% of all websites on the internet use WordPress (W3techs, January 2023), running a dynamic, high-performance site requires a lot of investment. Some of these complications include:
- OVH hosting at 50€ per year minimum (for a decent service) 💸
- crashes
- the panic of having 200 failed logging attempts daily
- permanently having to update the extensions
- the configuration of a CDN to have a fast website everywhere in the world
- SEO management to climb up in the Google results
- …
In fact, WordPress is a very good CMS to have a beautiful dynamic site. Powerful, complete, open-source, born from generation Z (in 2003!), WordPress doesn’t have to prove its value anymore. However, to make a personal blog with WordPress is way too much. A static website, without all the dynamic features of WordPress, is usually enough to make a blog. And that’s perfect, because you already have a static website right in front of you (amazing).
A static website only uses HTML, CSS and JavaScript source code and does not need a database or an extensive logical server.
The best of the blogs with Hugo
In 2013, when Hugo Chávez left us, Hugo (the software, not the president of Venezuela) was born. This static site generator written in Go, Google’s ultra-fast language, is still known as “the world’s fastest framework for building websites”.
Without going into details, it allows you to simply configure and launch your site. Open-source, free and easy to use, it has acquired a large community that has created a wide range of customizable themes. Hugo is easy to configure, and once done you can forget it and post content easily.

Go and Hugo together make Super-Hugo
What do you mean, a static site generator written in Go?
Hugo is indeed written in Go, because it is a software that takes code and generates the files of a static site : HTML, CSS and JavaScript. Therefore it doesn’t need to be executed constantly, unlike a PHP site which needs a PHP server to be active at all time. Just a quick hugo build to write the files, and the site is ready to be hosted on a server!
What about the code that Hugo takes to make a site, is it Go?
No. The Hugo software is coded in Go, but that’s not the language it uses to power the site. Markdown, a simple language to write beautiful content, allows to write articles like this one, and the YAML, TOML or JSON formats (at your choice) allow to configure it. We will come back later on their use
Are there other static site generators than Hugo?
If Hugo isn’t your cup of tea, Gatsby and Jekyll do the same thing
The main steps of this tutorial
Hugo being made of code (like any other website), it is possible to host this code in a GitHub repository. Git allows to manage code evolutions, to save the Hugo site and recover an old version, just in case.
GitHub allows to host static websites thanks to GitHub Pages. We can also update the site by pushing Hugo’s code directly into the repository before compiling, and letting GitHub Actions do the rest.
Thus, the main steps are :
- Install Git , Go , Hugo, GitHub (and eventually a text editor)
- Create a GitHub repository to host code and clone it locally
- Find and install a Hugo theme
- Fill up the blog and send it to GitHub
- Enable GitHub Pages with GitHub Actions and add a custom domain
Let’s do it 🚀
Step 1 • Install Git, GitHub, Go, Hugo and Visual Studio Code
To harness the glorious power of GitHub , you first need to install Git . There are also simpler options such as GitHub Desktop . However, for the young padawans* among us who want to discover the world of coding, we will go through the classic terminal method!
* I don’t watch Star Wars please don’t mention it in our conversations
We will also install Go , the language, and Hugo’s command line interface. For the text editor, I recommend Visual Studio Code, but you have alternatives like the default notepad, Notepad++ or Microsoft Word (it’s a joke don’t do that).
Windows install
For Windows, we will also install Chocolatey which installs software through the command line.
You first need to open PowerShell as administrator :
- Press the keys or
- Type “PowerShell”
- Click on “Run as administrator”
- Press Yes
- Run these commands :
  # Install Chocolatey, the package manager supported by Hugo and that we will use for the other software. Very useful for your other projects
  Set-ExecutionPolicy Bypass -Scope Process -Force; [System.Net.ServicePointManager]::SecurityProtocol = [System.Net.ServicePointManager]::SecurityProtocol -bor 3072; iex ((New-Object System.Net.WebClient).DownloadString('https://community.chocolatey.org/install.ps1'))

  # At this point, you will probably have to restart PowerShell

  # Install Git
  choco install git

  # Install GitHub
  choco install gh

  # Install Go
  choco install golang

  # Install Hugo
  choco install hugo-extended

  # Install Visual Studio Code (recommended)
  choco install vscode
MacOS installation
For MacOS, we will also install Homebrew which manages command line software.
You must open your terminal :
- Press the keys ⌘ + space
- Type “Terminal.app” and click
- Run these commands :
  # Install Homebrew, the package manager supported by many software. Very useful for your other projects
  /bin/bash -c "$(curl -fsSL https://raw.githubusercontent.com/Homebrew/install/HEAD/install.sh)"

  # At this point, it will probably be necessary to write the password and then restart the terminal

  # Install Git
  brew install git

  # Install GitHub
  brew install gh

  # Install Go
  brew install go

  # Install Hugo
  brew install hugo

  # Install Visual Studio Code (recommended)
  brew install --cask visual-studio-code
If you have a problem in any of these steps (either Windows/Mac) or if you are on Linux, here is a list of the softwares’ websites :
Step 2 • Create a repository on GitHub and clone it locally
a. Create a GitHub account
First, create an account on github.com. After you have dutifully added multi-factor authentication (MFA), write down your nickname.
b. Create a new repository
On the home page, press the green button New.
On the page, “Create a new repository” appears. Fill out the informations
- Owner : your account,
- Repository name
(important): {your_nickname}.github.com (for example : timothechauvet.github.io) - Public/Private : Public
Then press Create repository.
Once your repository is created, go to it and copy the URL, for example https://github.com/timothechauvet/timothechauvet.github.io
c. Clone the repository locally
Now you’ll have to go back to your terminal/PowerShell (unless you have GitHub Desktop or equivalent). No need to run PowerShell in administrator mode this time if you are on Windows.
You will first need to authenticate yourself with GitHub. To do this, enter the command gh auth login and use these parameters :
- GitHub.com
- HTTPS
- Y
- Login with a web browser
- Copy the code and press Enter
- Paste the code on https://github.com/login/device
- Authorize GitHub CLI
- Re-enter password
Go back to the command line and you are connected !
Move to the folder of your choice (for example cd ./Documents) and enter the commands :
# Clone the repository locally
git clone https://github.com/{votre_pseudo}/{votre_pseudo}.github.io

# Move to the repository folder
cd {votre_pseudo}.github.io

# Open the folder in Visual Studio Code if you have it installed
code .
Tip 💡 : write the first 3 letters of your command and press Tab to fill in the rest automatically
d. Initialize Hugo
In Visual Studio Code, notice that the project is empty. This is normal, Hugo must first install the project files in the current folder.
Open a new terminal with the tab ‘Terminal’ then run :
hugo new site . -f yaml
Three things: hugo new site will generate an empty site, . indicates that the site is in the current folder, and -f yaml indicates that the configuration files will use the YAML format, a way of saving data that I like more than the TOML used by default, and which I will use for this tutorial. This is completely optional and you can redo the command without it if you prefer.
e. Configure .gitignore
Git is rather logical, it sends all the files in the folder to GitHub when you ask it. Ideally you would send only the necessary files to avoid cluttering GitHub with temporary files or sensitive information. This is where the .gitignore file plays its role, as it will forbid files, folders and extensions for being sent by Git , and being published on your GitHub repository.
In Visual Studio Code, in the Explorer tab, create a new file at the root of the folder, name it “.gitignore” and modify it to add these lines :
# Files generated by the theme and your system
node_modules
.DS_Store
dist
tmp

# Filed generated by Hugo
/public/
/resources/_gen/
/assets/jsconfig.json
hugo_stats.json

# Executables
hugo.exe
hugo.darwin
hugo.linux

# Edit lock
/.hugo_build.lock
You may already see some folders in the explorer tab grayed out. This means that they have been skipped
f. Push code on GitHub
Now that the site is coming together, we will save it on GitHub.
In the terminal, run :
# Index all files
git add .

# Commit indexed files
git commit -m "First commit"

# Push code
git push
You might be prompted to connect to GitHub , if so accept. If you can’t push anything, follow this tutorial from GitHub.
Once the code is pushed, you can go back to your repository to see the changes
g. See what it looks like
Let’s go back to your site and see what happens. Run the hugo serve command in your terminal.
On your high quality internet browser, go to the URL localhost shown after “Web Server is available at https://localhost:XXXX” (you can CTRL+click on it inside the terminal)
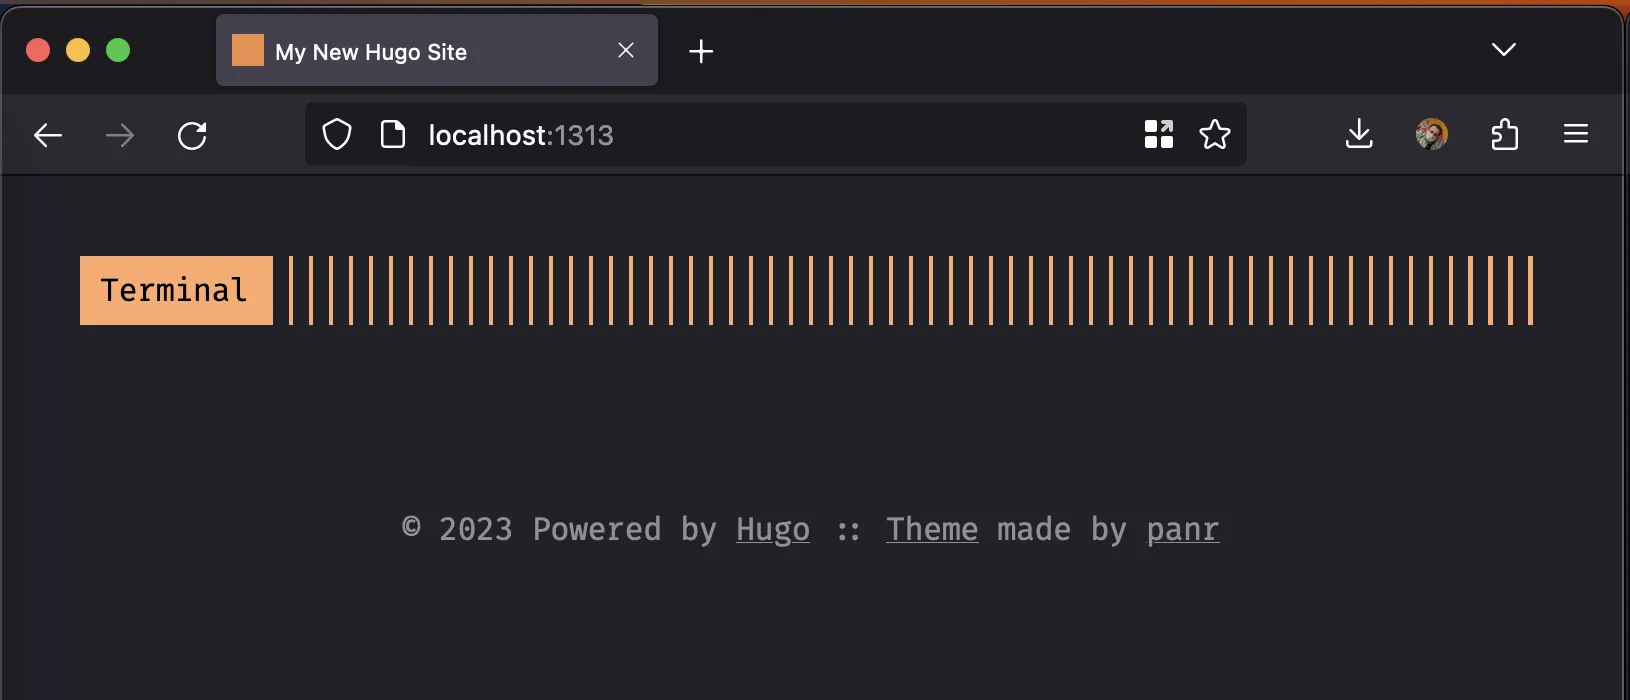
Page Not Found
Not very exciting for a great blog. Don’t panic, it’s normal, you have to install a theme first.
Step 3 • Find and install a theme
a. Find a theme
Now that your awesome blog is on GitHub , you’ll have to pimp it up. Go to Hugo’s themes site and find what you like. Alternatively, you can find more directly by searching for them on GitHub.
I use Toha by Emruz Hossain for my blog, but I’ll use the Panr’s Terminal theme for the following examples. Once you found what you like, press Download to get to the theme’s source code
b. Add a Git submodule
Once you’re on the theme repository, you will have to add it to your site. To do this, run in the terminal (still in the root folder) :
git submodule add https://github.com/{your_theme} themes/{your_theme}
# For example : git submodule add https://github.com/hugo-toha/toha themes/toha
Adding a submodule, with the command git submodule add, is like adding a Git project inside a Git project. No need to retrieve everything and copy it to your files. Pretty good right?
b bis. Alternatively: add the theme manually
If you want to retreive the theme using a .zip file (not recommended), you need to download the repository (with the button Code then Download ZIP). Extract the archive’s contents to the themes\your_theme folder (example : themes\toha).
c. Add the theme to the configuration
Open the config.yaml file and add these lines :
baseURL: https://your_nickname.github.io
languageCode: en-en
title: "I have no idea"
theme: your_theme
Tip 💡: just save the file, the command “hugo serve” should automatically reload the site on your browser at https://localhost:XXXX
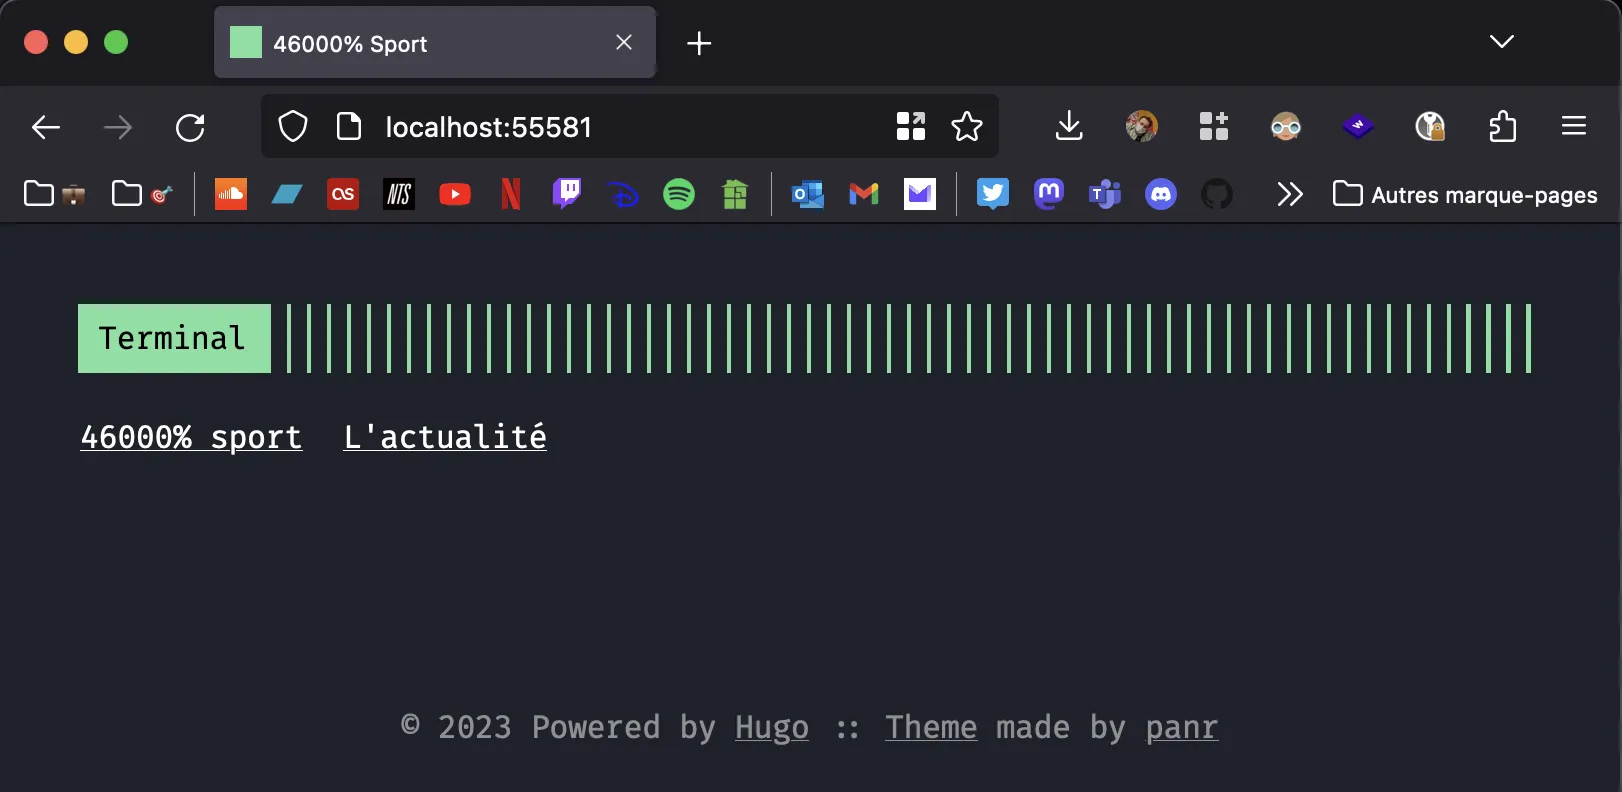
Example with the Terminal theme
Now you have a beautiful theme for your blog ✨
Go back to the terminal and run the commands to send your changes to GitHub :
# Index all modified files
git add .

# Commit indexed files
git commit -m "Second commit"

# Push code
git push
Tip 💡: replace the dot of git add . with the names of the files/folders you want to index. These files/folders are then recognizable by an M in the explorer on the left on Visual Studio Code
Whenever your site is going to change a lot, repeat these three commands to push your changes to GitHub.
Step 4 • Customize the blog and write articles
a. Customize the home page
Now that you’ve found a really nice theme for your blog, it’s time to customise the site. The config.yaml file contains all the configuration details.
Note : each theme is unique, so will be your blog. I’m using the Terminal theme as an example, so be sure to adapt your configuration to that of your theme.
In my case, the example configuration file is on the GitHub page of the theme. This will most likely be your case
Convert the example configuration file to YAML
Small issue: the proposed format of the configuration is in TOML. It is also possible that yours will be displayed in JSON or XML. Knowing that we chose our configuration in YAML during the initialization, it is thus essential to convert the file in this format.
By hand, this is not too complicated, as the three data formats are easily convertible. To make our lives easier, we will however use an online tool. Choose the one that suits you.
Format converter table (Transform.tools and Convertsimple.com)
| YAML | TOML | JSON | XML | ||||||
|---|---|---|---|---|---|---|---|---|---|
| YAML | YAML -> TOML | YAML -> JSON | YAML -> XML | ||||||
| TOML | TOML -> YAML | TOML -> JSON | TOML -> XML | ||||||
| JSON | JSON -> YAML | JSON -> TOML | JSON -> XML | ||||||
| XML | XML -> YAML | XML -> TOML | XML -> JSON |
Once you have your result ready, copy it and add it to your config.yaml file. Change the settings as you wish.
Tip 💡 : you can translate your site into several languages. In most themes, you have a languages setting for this.
Example where I configure the Terminal theme in green
(Optional) Integrate .webp, .svg, tweets…
In your articles if you want to embed various types of documents, add these lines in your configuration file. Be careful what you paste from the internet onto your site, for example embedding a Tweet involves setting a Twitter cookie for each visitor.
# Raw HTML in Markdown
markup:
  goldmark:
    renderer:
      unsafe: true
b. Add an article
Now is the time to start writing a masterpiece of virtual prose. Go to the content folder and create a folder, for example articles. Then create a myarticle.md file with the extension .md in it.
In this file, add these few lines:
---
title: "Awesome"
date: 2023-01-31
hero: illustration.png
description: "Awesomer"
theme: terminal
---
Note the hero attribute which corresponds to the article’s illustration image for themes that are compatible.
Complete the rest of the document with content. It uses the Markdown format, a very popular format for writing. I’ll let you use this worksheet by Adam Pritchard as inspiration for filling in your article.
Save your article (regularly) and then go back to your site. It should be there!
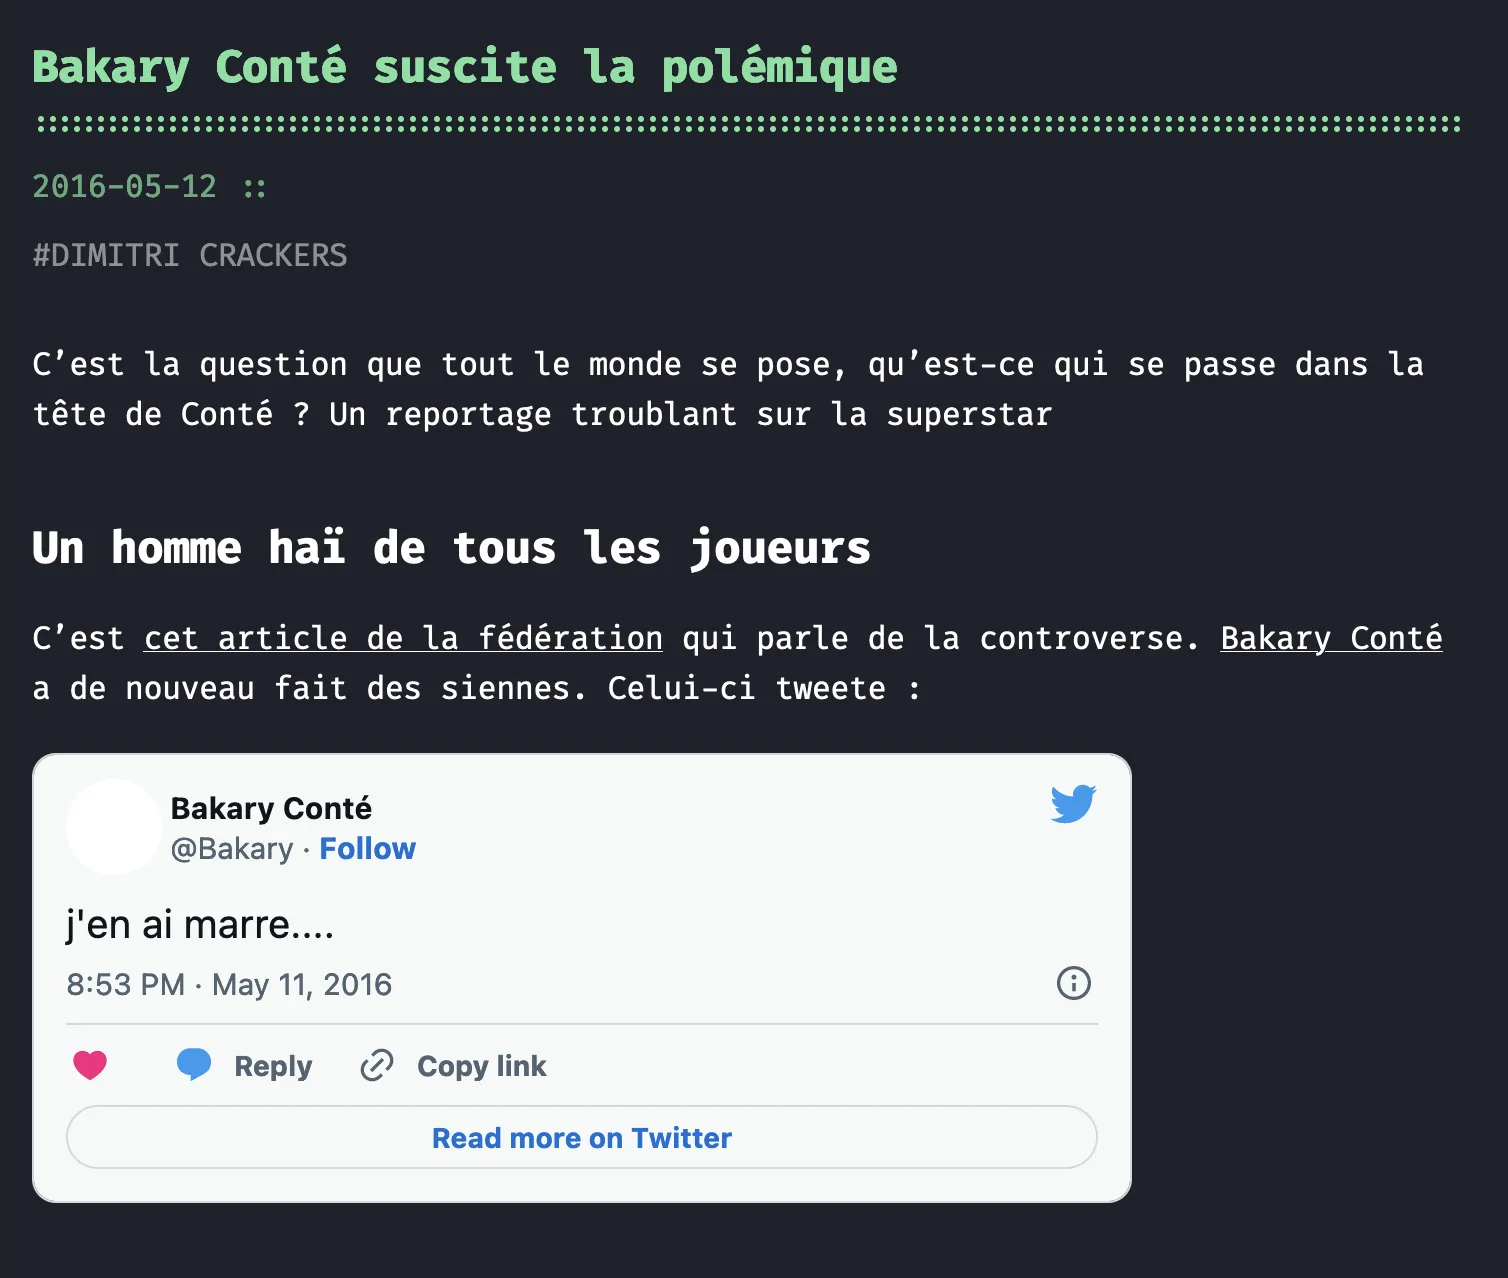
Example of an article
Step 5 • Setup the GitHub Actions pipeline
We are now ready to put this beautiful blog on the internet. GitHub now stores the source code used by Hugo, but it’s not website code (HTML, CSS and JavaScript). When you ran the hugo serve command above, Hugo seamlessly generated a website.
For GitHub to make the source code it hosts available on the internet, it needs to find a way to run Hugo to generate a static site. This is the role of a CD pipeline (CD stands for Continuous Deployment), and GitHub Actions does that.
Go to the Settings tab on your repository and click on Pages. Change the Deploy from a branch source to GitHub Actions. In browse all workflows, search for Hugo and a YAML file opens up : this is the CD pipeline.
Note : the fact that Hugo’s configuration file is in YAML and also GitHub’s CD pipelines is purely coincidental
Click on Commit changes… and this file should appear under the .github folder of your repository. Go to Actions, click on the workflow on the left, Run workflow and your website should be available on https://your_nickname.github.io !
See that the URL (edited) is now github.io!
Remember to run git pull on your computer to load your CD pipeline which is now in your repository.
Étape 6 • Buy and configure a domain
a. Buy a domain
Once you’re happy with your site (after pushing it to GitHub ), it’s now time to publish it on the internet. But first, you need to get a domain name.
A domain name will make your blog stand out: each domain name is unique. It is possible to buy one from a domain provider, for example OVH which provides .fr domains for 7€ per year (at the time of writing).
So buy your domain name at this link or from another reseller (Google Domains, GoDaddy, Ionos…). There are several things to consider:
- I said in the title that the website costs 0€. Here we are talking about the domain name, not the hosting. You can also do without a domain and stop there
- The administrative information you give to the domain provider will be publicly accessible by [Whois-type tools] (https://whois.domaintools.com/); you’ll have to see how to hide them manually afterwards. Apparently for OVH it is hidden by default for private individuals (source).
- If you don’t renew regularly the domain name (i.e. pay 7€ per year), it will automatically release your domain name and kind robots might buy the domain to resell it afterwards for several thousands of euros (source).
a bis. (Optional) Install a CDN (CloudFlare)
One option would be to install a CDN (Content Delivery Network) like CloudFlare which is free. This allows in particular :
- Delivery of the site in cache in all the world (in particular for our dear Pakistani and Chinese readers whom we greet)
- Protection against DDoS attacks
- Anonymized server origin
In our case we host our site on GitHub so it’s not even worth trying to add protection to the one already present. But if you want to do it anyway, you can follow this tutorial from Numelion.
CloudFlare is also useful for redirecting mails, for example ones sent to contact@yourwebsite.fr could be redirected to idonthaveanyinspiration@gmail.com. This is super easy with the Email button on the CloudFlare portal
b. Edit DNS entries
Once you have your domain set up, all you have to do is configure the DNS entries. You won’t have to do anything else on the domain provider side after that.
- Go to the DNS manager (or CloudFlare if you have it installed)
- Add A records with the following IP addresses (leave the other options as default):
185.199.108.153
185.199.109.153
185.199.110.153
185.199.111.153
- Add AAAA records with the following IP addresses:
2606:50c0:8000::153
2606:50c0:8001::153
2606:50c0:8002::153
2606:50c0:8003::153
c. Set up the custom domain name on GitHub
Last step before the big launching !
Now that your site is published on the internet via https://your_nickname.github.io, we want it to be live on https://your_domain.fr !
Go to the repository settings, under Custom domain. Write your domain name, click Save and it’s done !
Your website is now live with your custom domain !
d. Get traffic insights about your website
I use GoatCounter, a simple, free, open-source and privacy-friendly service. To do so, register on https://www.goatcounter.com/ by entering the domain name of your site, and in the config.yaml file configure analytics as follows:
params:
  features:
    analytics:
      enable: true
Then create this file layouts/partials/analytics.html with this content :
<script data-goatcounter="https://your_domain.goatcounter.com/count" async src="//gc.zgo.at/count.js"></script>
You will then have a super dashboard reachable at https://your_domain.goatcounter.com by replacing your_domain by whatever you entered during the registration
Conclusion
This was a rather long adventure knowing that the edits of the domain name and DNS entries aren’t instantaneous. In the end, the steps you have followed represent a relatively simple job. The most time consuming part will obviously be to fill in the content of your site with what is possible with your imagination (and the limits of your theme).
Here is a summary of what you have learned:
- Installing software from the command line
- Generate a static site with Hugo
- Configure a Hugo site
- Upload code to GitHub
- Buy and configure a domain name and its DNS entries
- Set up a CD pipeline (100% DevOps certified)
Congratulations on a job well done, and please consider sharing me your blogs once they are done with this tutorial!
🤖 This article was written without the help of an AI, except during translation using Deepl.
“Mascot” banner generated by DALL•E
If you have any questions or suggestions, reach to me by email, LinkedIn or directly by sending an issue on GitHub